How to make properly centred spinners in skins
How to make spinners symmetrical by: ziin
This guide is probably hard to understand for people with little experience with GIMP/Photoshop. This guide assumes you know how to (and are able to) turn on/off layers, as well as find some things on your own.
How to make symmetrical spinners
It's tiring to see wobbly spinners. Please, if you want to make a spinner, make sure it's perfectly centred.
First open up your image editor, in this guide GIMP will be used, since it's free.
Make a new document. The template skin is 666x666, and while it's safe to go over that limit, spinners can cause lots of lag on slow computers, so it's best to make it under that limit. Make the document 664x664, so that when we are done, we can pad the edges with transparency, which lets osu! know that it can anti-alias the border, rather than make it a straight edge.
Make a new document
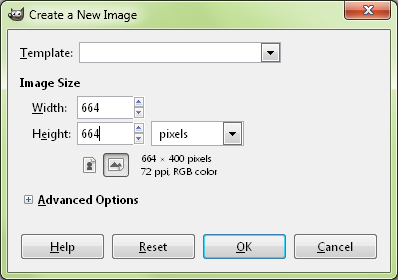 Tutorial Image 1
Select your circle
Use the ellipse tool (shortcut is "e") and make a circle on the entire document. Create a new layer and fill it with a colour.
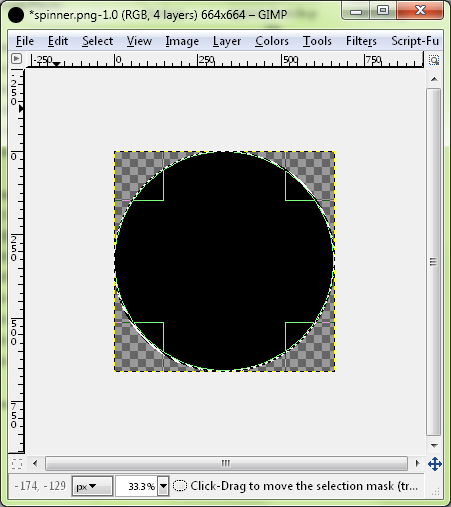 Tutorial Image 2
Shrink the selection
Then shrink the selection by going to Select -> Shrink. Fore more accurate circles, simply redraw them with the ellipse tool, as "shrink" is only good for one or two circles.
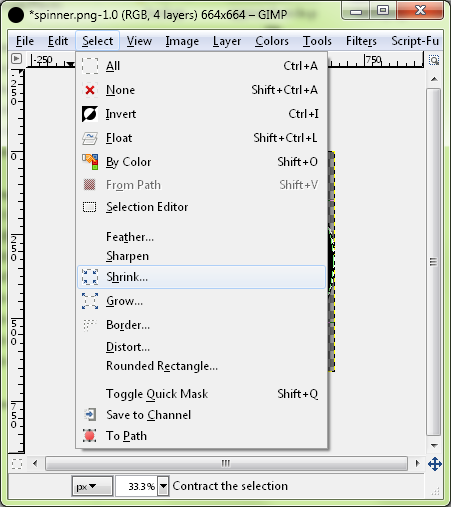 Tutorial Image 3
Here is chosen 15, but you can choose however much you want. Create a new layer and fill the smaller selection with a different colour so you can see it.
The spinner
Repeat the process for the centre dot as well, or any other circles you want. I chose 300.
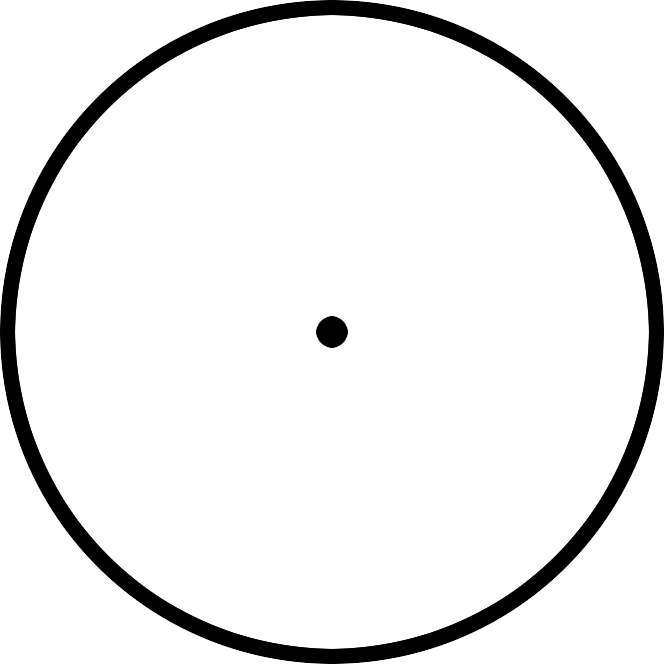 Tutorial Image 4
Adding an image to the spinner
You can then use each layer to make designs, or put your picture on it by selecting the alpha channel of that layer
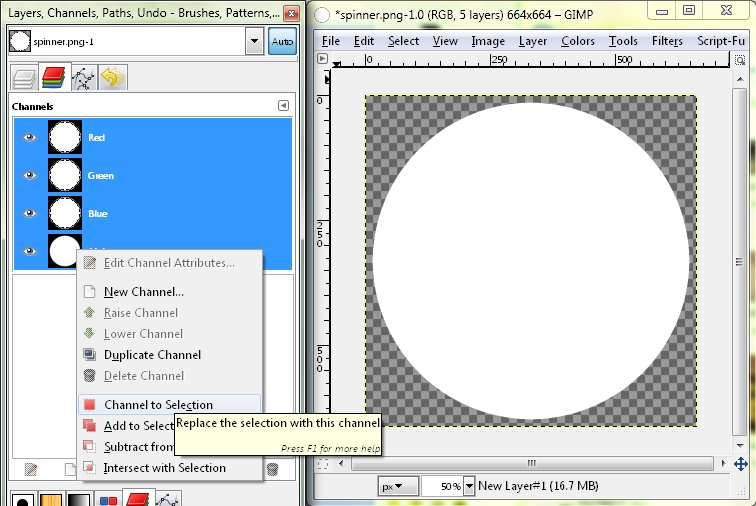 Tutorial Image 5
Copying the image
And copy/paste the selection from the image you want to copy:
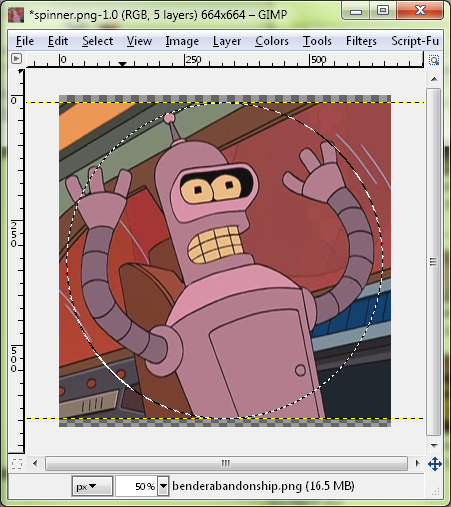 Tutorial Image 6
Set canvas size
Finally, you can add a design in the middle, or recolour the edges. Make sure you reset the canvas size to 666x666 by going to Image -> Canvas Size, and centre the image so you have a 1 pixel border around the image.
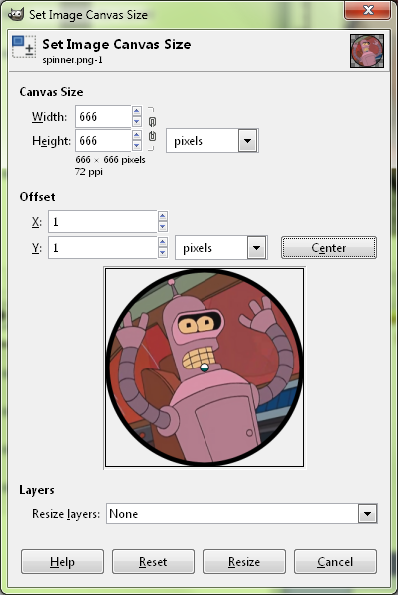 Tutorial Image 7
Now you should have a perfect spinner which doesn't wobble when you spin it.
 Tutorial Image 8
In this guide there won't be information how to make the edges pretty, or give it depth, that's something entirely different. I chose a very simple image and process. If you want to do that, there are guides everywhere, or you probably already know how to do that. However it seems that symmetry has escaped most of the people who make skins.
How to make spinner backgrounds which match the beatmap background
If you want your spinner to have the same background as the actual map, it can be difficult because of a bug in osu! introduced by a gameplay change which was never fixed. First, we need to match up the background in the game and not in the beatmap editor. The beatmap puts storyboarded elements (background and video) 5 pixels higher on 1024x768 than the rest of the map.
Don't worry if the spinner looks wrong in the editor
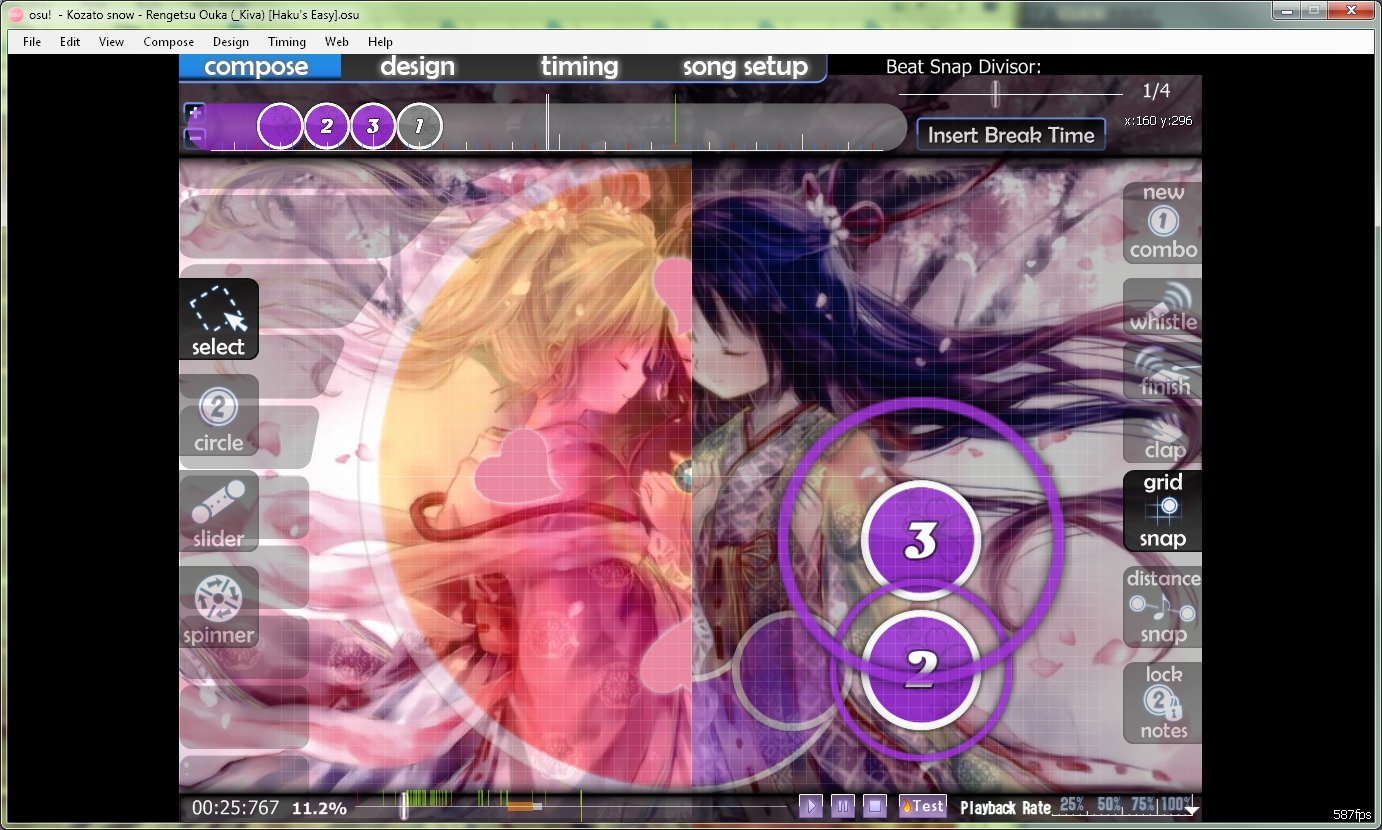 Tutorial Image 9
Cropping the background
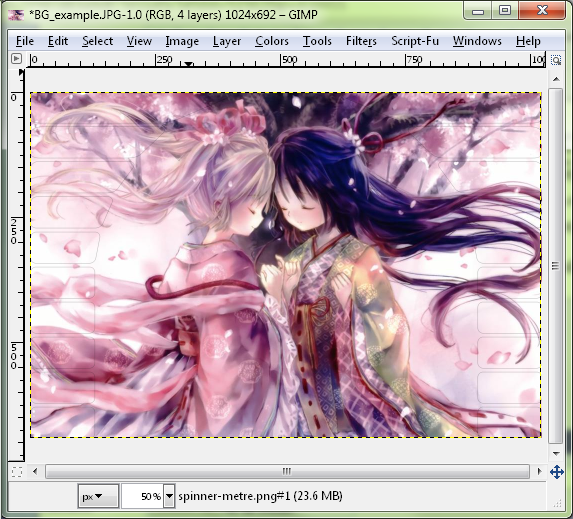
First, take the background at 1024x768 and crop out the top 46 pixels and bottom 30 pixels, giving you a 1024x692 image. The template image is 1023x692, but this doesn't matter; the right side is just pure black due to the nature of how spinners work.
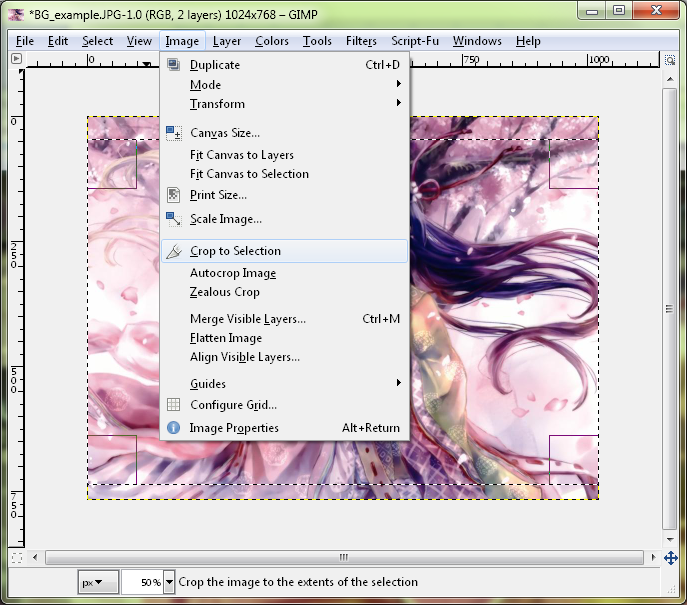 Tutorial Image 10
Use the channels tab to turn off editing the alpha channel
Technically, you are done, but if you want to make the background "fill in" with a background spinner meter, then you can use the template skin, or make it yourself. Bring in the template spinner-meter. To recolour it, turn off the alpha channel by selecting it, so you don't modify the transparency at all. Then use the bucket fill and fill the entire area with a grey colour or whatever colour you want (I used black).
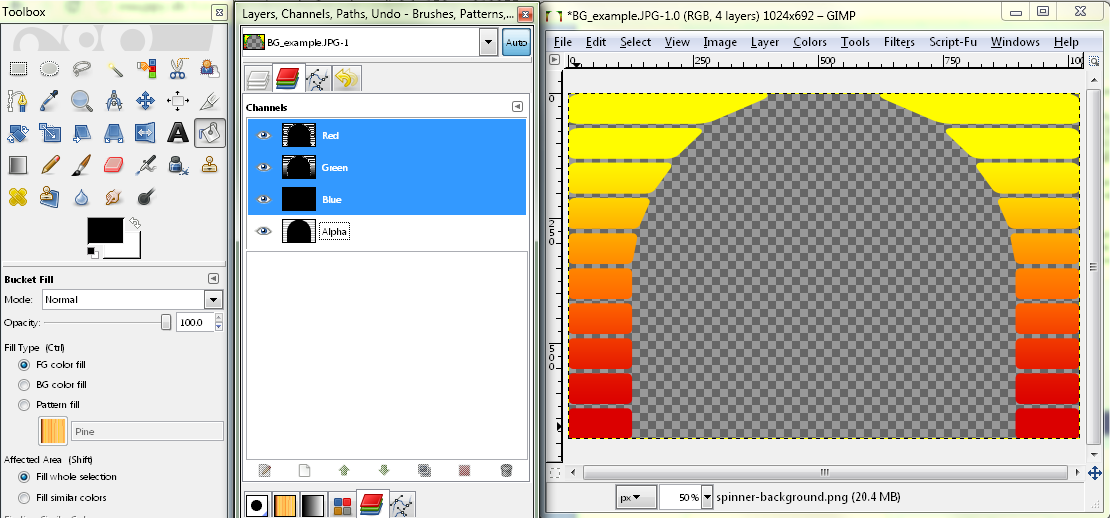 Tutorial Image 11
Copy/Paste into new layer, then save your spinner meter
Once you have the colour, select the entire alpha channel again (right click on the alpha channel -> channel to selection) copy and paste the spinner background so you have something to fill in for your spinner meter.
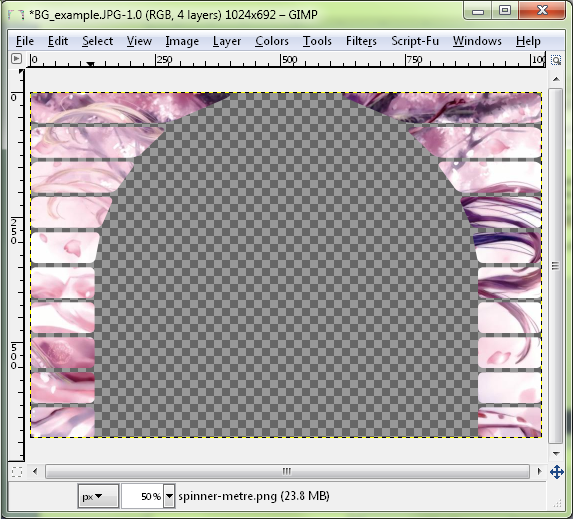 Tutorial Image 12
Turn down the opacity until you get a colour your like
To add some more detail, you can turn down the opacity on the black image.
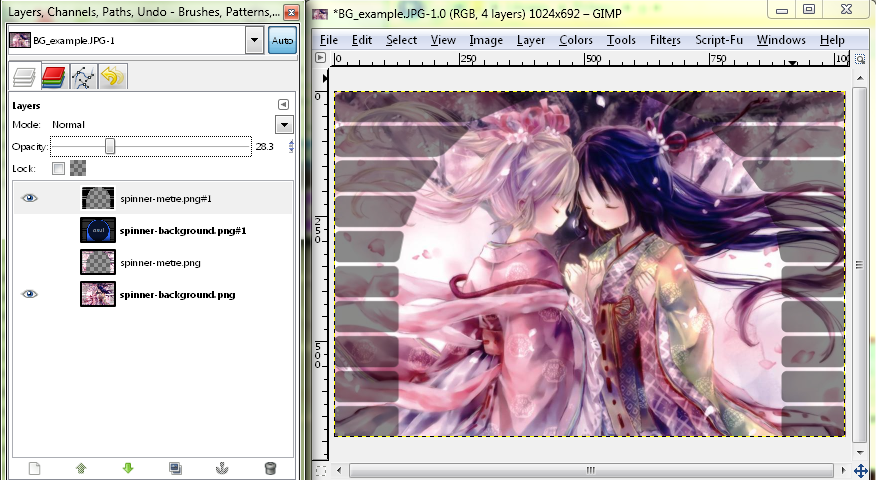 Tutorial Image 13
The fully spun spinner background and meter
Then you can see how it looks filled in by turning on the old layer. Note it has a little bit of an outline. If you want to change the size of that outline, you can use the Select -> Grow or Shrink tool before you copy/paste to make the spinner meter.
 Tutorial Image 14
If you do this, the transition from background to spinner will be seamless, and you won't have the background move up a few pixels.